Download for your Windows
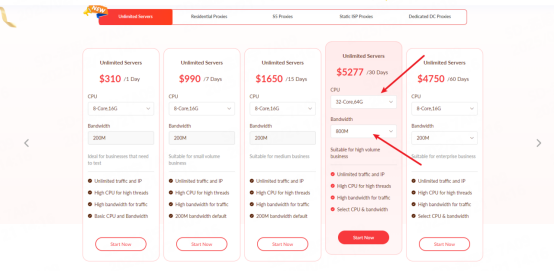
First, purchase an unlimited server.
You can select your desired CPU, memory, and bandwidth, then proceed with the purchase after confirming your choices.
Please note that each account can purchase up to 10 unlimited servers
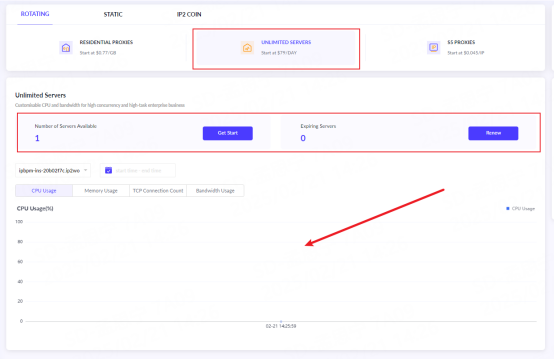
After completing your purchase, log in to your dashboard to view detailed information about your unlimited servers.
You can check how many servers are currently active, how many have expired, and access usage charts for your servers, among other details.
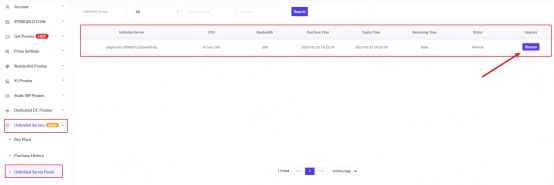
If you would like to view more detailed information about the unlimited servers, please go to Unlimited Servers – Unlimited Server Panel.
Please note that renewals are also processed on this page. Make sure to renew your server before it expires.
Unlimited servers can be used in two ways: API and username/password authentication.
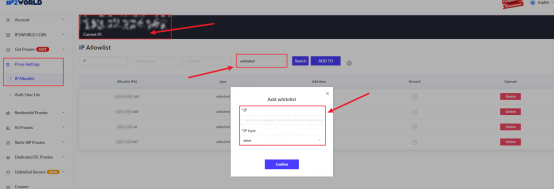
Please note that before using the unlimited servers, you need to add your local IP to the unlimited whitelist.
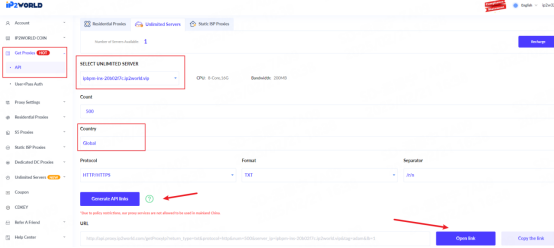
1. Go to the "Get Proxies - API" Page
o Select the server you want to purchase.
o Choose the number of IPs you need to generate.
o Select the region and other relevant details.
2. Click "Generate API Links"
o This will create an API link for your selected configuration.
3. Use the API Link
o Integrate the API link into your applications for different use cases.
Alternatively, open the API link directly in your browser to view detailed IP information.
(Note: The generated IPs are tunnel IPs.)
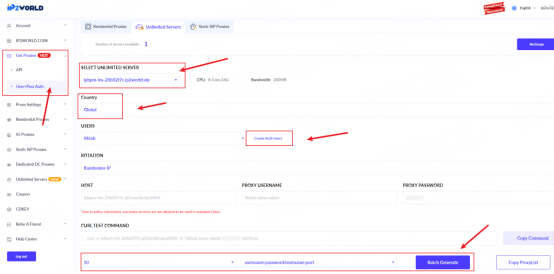
1. Before using username + password authentication, you need to add an authorized account.
2. Navigate to the Get Proxies - User+Pass Auth page, and select your purchased server, region, and rotation mode.
Generate proxy IPs in bulk according to your required format, and paste them into the tool where proxies are needed.
